Comprehensive collection of posts that provide a variety of Arduino projects, each with detailed step-by-step instructions, thoroughly tested codes, and clear connection diagrams. These projects cover diverse applications, ranging from beginner-level to advanced implementations, catering to hobbyists, students, and enthusiasts. Each post ensures a comprehensive understanding of the project, including component details, circuit explanation, and practical insights to help users successfully build and execute the projects. Whether you’re exploring basic circuits or working on complex systems, these Arduino projects are designed to inspire and guide learners effectively.
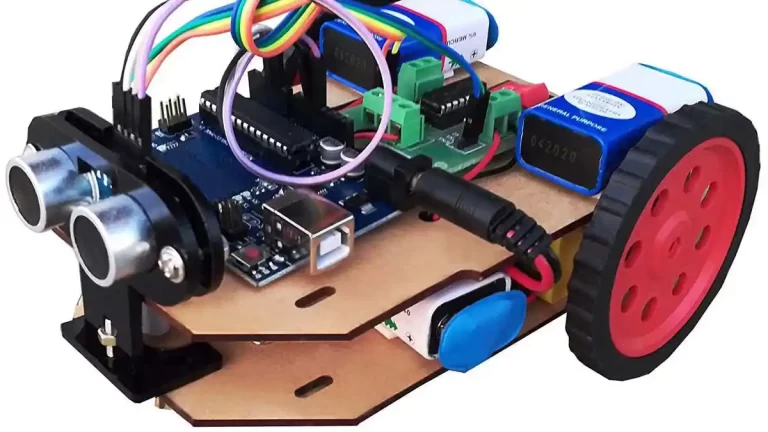
Struggling with unreliable obstacle-avoiding robots? Learn how an optimized ultrasonic sensor code can revolutionize your projects! From fixing trigger pulse issues to handling invalid readings and ensuring flawless motor control, discover how this foolproof code outperforms the commonly used versions. Perfect for hobbyists and professionals alike — your robot’s performance will never be the same again!
This code is used to blink the LED connected at pin-13 (LED_BUILTIN). This LED is marked as “L” on the Arduino UNO board. First type the code by creating new file in Arduino IDE, save the file and then upload it.
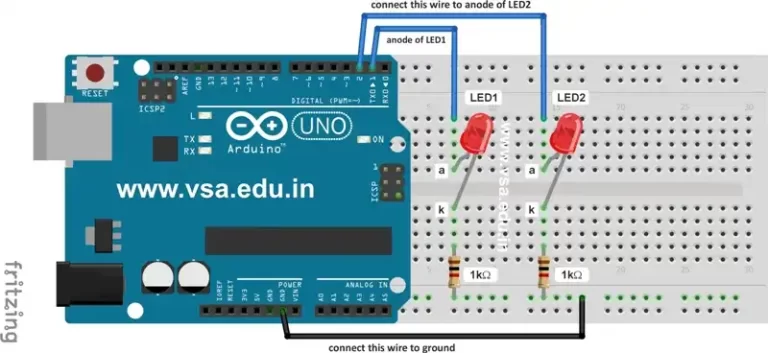
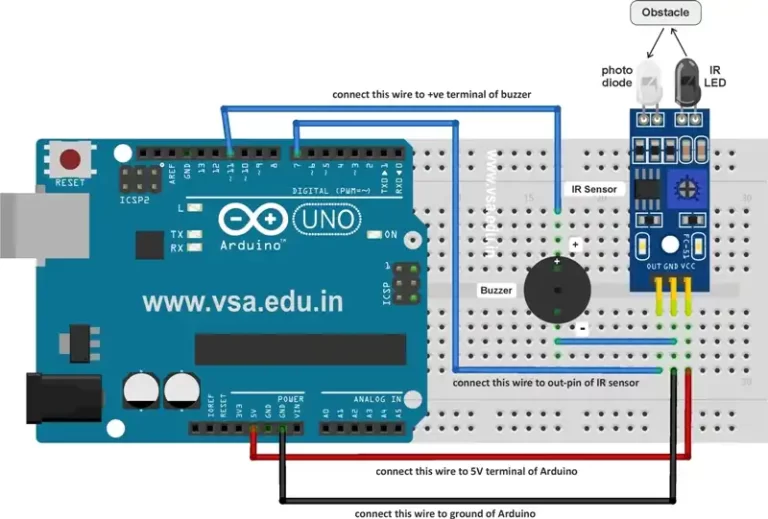
This code is used to blink the LED connected at pin-13 of Arduino UNO and produce buzzer beeps alternately. First type the code by creating new file in Arduino IDE, save the file and then upload it.
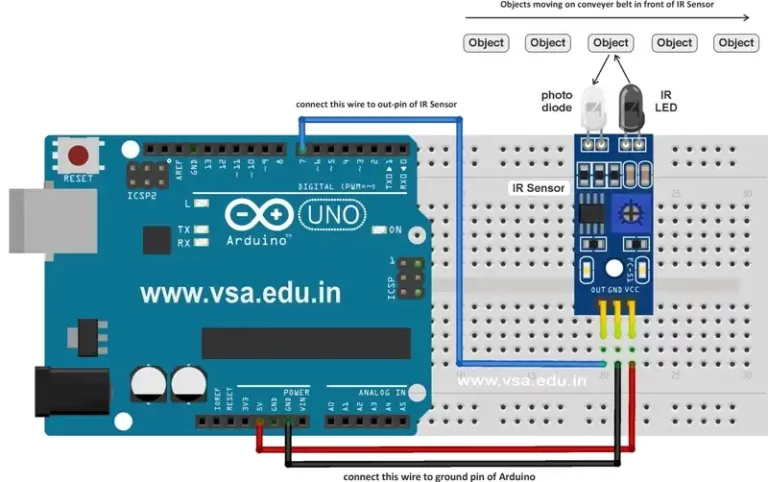
This code is used count the number of objects passing in front of the IR sensor. It displays the count of the object on serial monitor in Arduino IDE software.
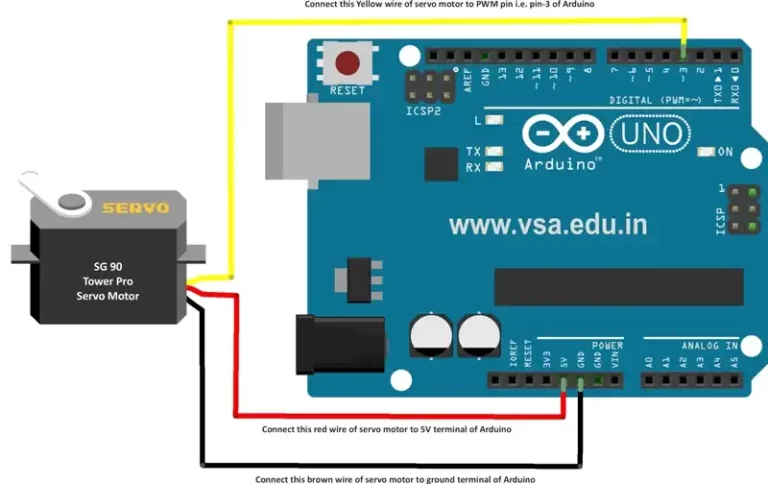
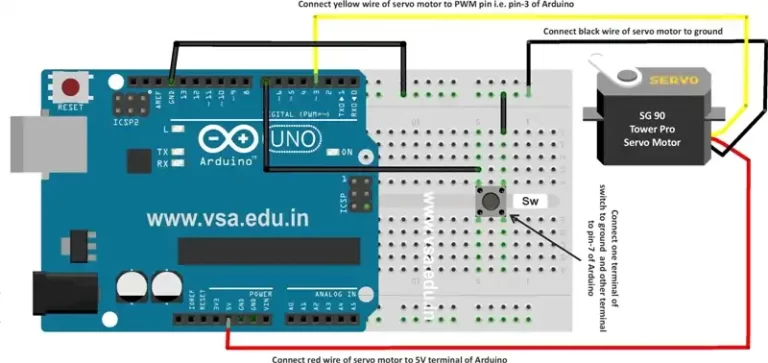
In this code when the button is pressed, the servo motor starts rotating smoothly from 0 – 90 and then 90 – 0. When the button is released, the motor restores back to angle 0.
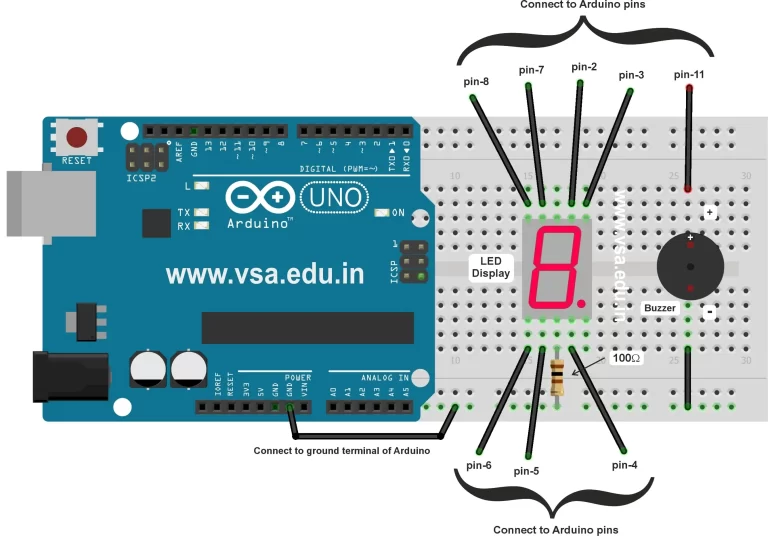
In this code the LED display shows counting from 9 – 0. When 0 appears on the display it produces buzzer sound. The pin configuration of LED display and connection diagram is given below.