- AR-B1: Blinking LED Project using Arduino
- AR-B2: Alternate Control of LED & Buzzer
- AR-B3: Alternate Blinking LEDs
- AR-B4: Running Effect of LEDs
- AR-B5: Chasing Effect of LEDs
- AR-B6: Obstacle Detector using IR Sensor
- AR-B7: Object Counter using Serial Monitor
- AR-B8: Servo Motor Basic Code
- AR-B10: Car Wiper System using Servo Motor
- B13: LED Display Down Counter with Alarm using Arduino
- Protected: Day-1: Online Course on Arduino Programing with Practicals
- Protected: Day-2: Online Course on Arduino Programing with Practicals
- Protected: Day-3: Online Course on Arduino Programing with Practicals
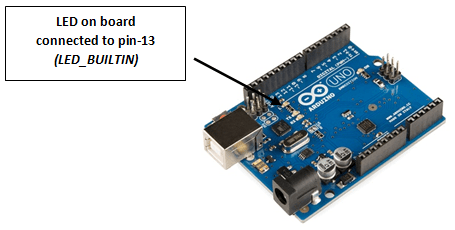
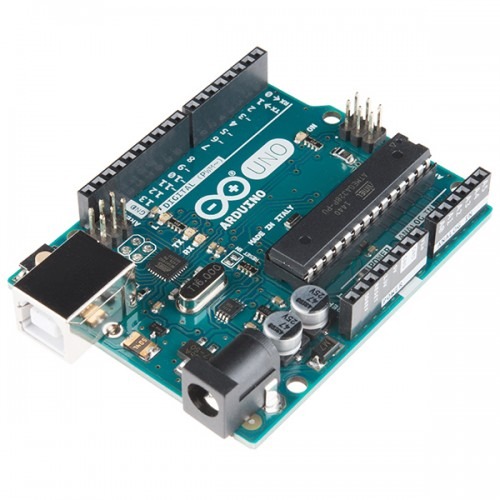
This code is used to blink the LED connected at pin-13 (LED_BUILTIN). This LED is marked as “L” on the Arduino UNO board. First type the code by creating new file in Arduino IDE, save the file and then upload it.
Page Contents
show
Required Material
Arduino UNO Board – 1, data cable – 1, Computer / Laptop – 1.
Working
When the given code is uploaded to the Arduino UNO board, the built-in LED connected at pin-13 starts blinking at a rate decided by delay() function. If you type delay(1000); it will blink at 1 second rate. If you type delay(2000); it will blink for 2 seconds and so on.
The Code
int LED = 13;

void setup()
{
  pinMode(LED,OUTPUT);
}

void loop()
{
  digitalWrite(LED,HIGH);
  delay(100);
  digitalWrite(LED,LOW);
  delay(100);
}
Procedure & Precautions
- First type the code correctly in Arduino IDE software.
- Then connect the Arduino board to computer through data cable and click on “Tools” menu.
- Then select “Arduino board” and respective “COM” Port.
- The upload the code in Arduino UNO board.
- Observe that the LED “L” on Arduino UNO board is blinking at a rate decided by your delay() function value.