- Basics of Arduino Coding
- How to use Android Phone to write codes and upload in Arduino?
- Effective coding techniques in Arduino: More about datatypes
- Effective coding techniques in Arduino: More about variables
- How to design Cathode Ray Oscilloscope using Arduino? Code of just 9 lines!
- How to start learning NodeMCU in simple steps? Basic Tutorial on NodeMCU
- How to use array to rotate servo motor in different angles?
- Blinking LED code for Arduino in Assembly Language Programming (ALP)
- Having trouble to drive Servo motor with Arduino Uno SMD? Get perfect solution now…
- Optimized Obstacle-Avoiding Robot Code: A Breakthrough for Robotics Enthusiasts
Important Note
I am being an ATL Mentor of Change (MoC-1619), have observed that number of students working in ATL labs do not have computers or laptops at their home to do practice on Arduino coding.
But now it is possible to write all types of codes in Android Smart pone and upload the code in Arduino.
Read complete article below and spread the news among your students.
Discover the power of Arduino Uno and how it can be programmed using the ArduinoDroid app on an Android phone. Unleash your creativity with this versatile microcontroller board…! Learn how to use Android Phone to program Arduino in simple steps!
Features of ArduinoDroid App
The ArduinoDroid is an app for Android devices that allows users to write, compile and upload Arduino sketches directly from their mobile devices.
Please note that the features and details of apps can change over time with updates, so it’s advisable to check the official sources for the most current information. As of my last update, here are some of the features that ArduinoDroid typically offered:
- IDE Environment: ArduinoDroid provides an integrated development environment (IDE) where users can write and edit Arduino sketches using the Arduino programming language.
- Code Highlighting: The app supports syntax highlighting, making it easier for users to identify and understand different parts of their code.
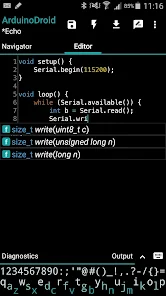
- Code Autocompletion: Autocompletion features help users by suggesting and completing code snippets, which can improve coding efficiency.
- Compiler: ArduinoDroid includes a built-in compiler, allowing users to compile their sketches directly on their Android device.
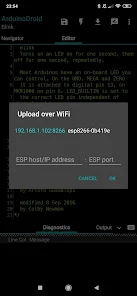
- Upload to Arduino Board: Once the code is written and compiled, users can upload their sketches directly to Arduino boards via USB or Bluetooth, depending on the board’s capabilities.
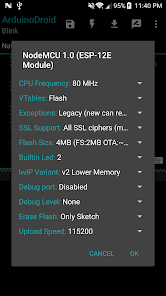
- Multiple Board Support: The app typically supports various Arduino boards, allowing users to choose the specific board they are working with.
- Libraries Support: ArduinoDroid usually supports the inclusion of Arduino libraries in projects, enabling users to easily incorporate additional functionality into their sketches.
- Example Sketches: The app may come with a collection of example sketches to help users understand the basics and get started with their projects.
- Offline Mode: ArduinoDroid may offer an offline mode, allowing users to work on their projects without requiring an internet connection.
Remember that app features and updates can change over time, so it’s advisable to check the official app store listing or the developer’s website for the most up-to-date information on ArduinoDroid’s features.
The primary focus of ArduinoDroid was on providing a mobile IDE for writing, compiling, and uploading Arduino sketches. Serial monitoring and plotting functionalities were typically not included in the app.
However, app features and updates can change over time, so it’s essential to check the most recent information from official sources, such as the app’s listing on the Google Play Store or the developer’s website. If there have been updates or new versions released since my last knowledge update, the inclusion of serial monitor or plotter features might have been introduced.
For developers the ArduinoDroid app author has provided the necessary code to design your own app for serial monitor and serial plotter. You can check it on the official website of the app on this link.
Installation of ArduinoDroid on Android Phone
- First check the compatibility of your Android phone. For that open Google Play Store on your Android phone and type “ArduinoDroid” in search field.
- If it show “Install” button on right side then your phone is compatible with ArduinoDroid App.
- Click install and wait for some time.
- Once the app is installed click on “Open” button on right side.
- The app will open on your Android phone.
How to write & upload code?
Before starting the use of ArduinoDroid app, first observe the labelled diagram to understand the functions of the app. It is very similar to the Arduino IDE except it does not have serial monitor or serial plotter.
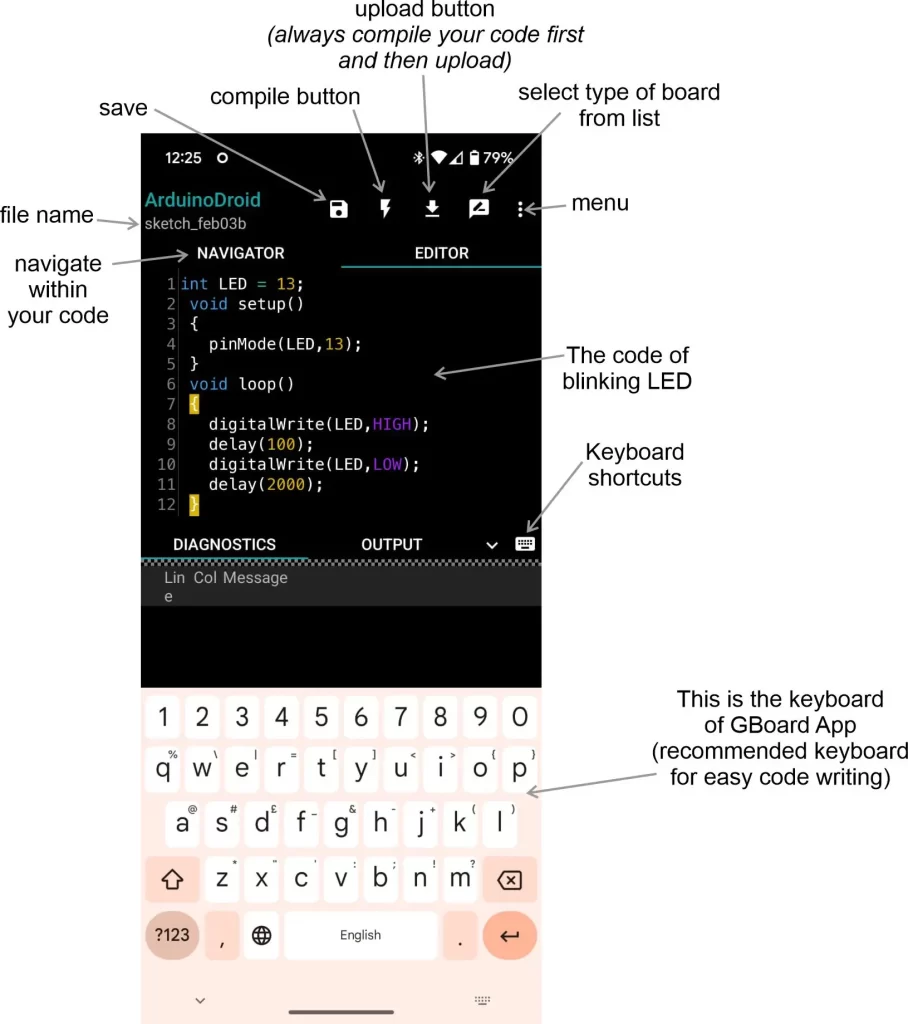
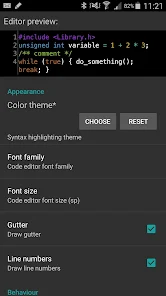
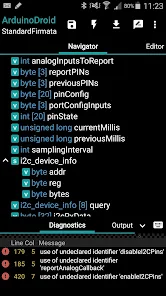
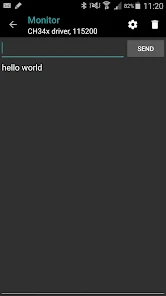
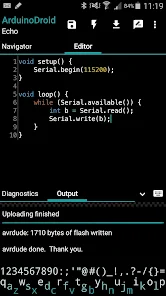
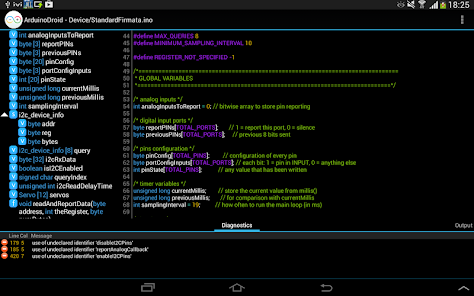
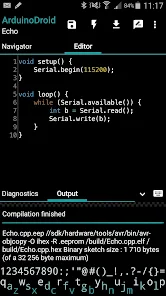
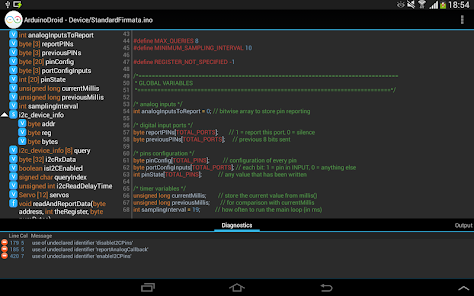
- Type a simple program of Blinking Built-in LED of Arduino UNO or copy paste the following program into ArduinoDroid App.
 int LED = 13;
 void setup()
 {
   pinMode(LED,OUTPUT);
 }
 void loop()
 {
   digitalWrite(LED,HIGH);
   delay(100);
   digitalWrite(LED,LOW);
   delay(100);
 }
- Now Save the code in ArduinoDroid app and then click compile button.
- Remember you must first compile the code and then upload it in Arduino UNO. This is not like direct uploading, we do in Arduino IDE. So first compile the code and then upload.
- Now before uploading connect the Arduino UNO with its data cable through “C” to “USB” OTG plug, if the Android phone has C-type charging socket to your Android phone. However, if your Android phone has micro-USB charging socket, then use micro-USB to USB OTG plug, as shown in following pictures.
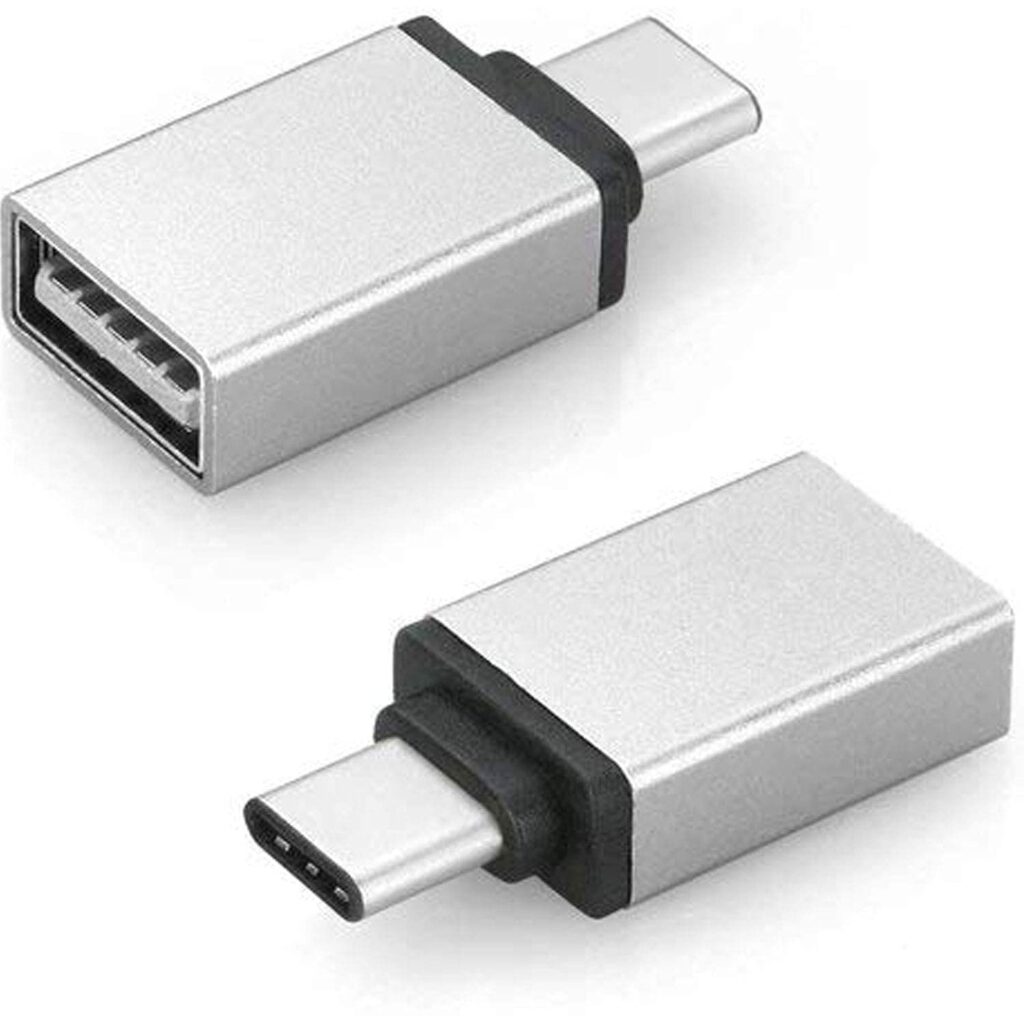

- Once you have connected the Arduino UNO with proper OTG plug, upload the code from ArduinoDroid to Arduino.
- Now you will see that the built-in LED, connected at pin-13, will start blinking at 10 times/sec.




Great post.
It will be very helpful to the students who don’t have the access of PC or laptop.
Thanks for sharing
Thanks for the comment.
Yes, it will surely help the needy students, who don’t have the PC or laptop.
Waw….Sirji….You created the excitement…. Innovation for research so easy for the students through these posts, that though I am a faculty, I want to be a student and researcher again….Really very much eager to start the journey ….. THANKS FROM BOTTOM OF MY HEART…. WELL DONE….KEEP IT UP GROWING ALWAYS
Thank you Prof. Hemant Satpute Sir!
Its an honour for us that you visited our website and wrote the comment.
Vidyasagar Academy is committed to provide quality study material for students.
Kindly keep visiting and guide us for enriching the content of our website.
Your suggestions are most valuable to us…!
Please share our category posts on Arduino among your students.
Thanks again and again.
Very useful post.
Thank you so much for sharing.
It helped me a lot.
Thanks!
We are pleased to know that our posts are helpful!
Very informative post.
Thank you so much for publishing…