- Basics of Arduino Coding
- How to use Android Phone to write codes and upload in Arduino?
- Effective coding techniques in Arduino: More about datatypes
- Effective coding techniques in Arduino: More about variables
- How to design Cathode Ray Oscilloscope using Arduino? Code of just 9 lines!
- How to start learning NodeMCU in simple steps? Basic Tutorial on NodeMCU
- How to use array to rotate servo motor in different angles?
- Blinking LED code for Arduino in Assembly Language Programming (ALP)
- Having trouble to drive Servo motor with Arduino Uno SMD? Get perfect solution now…
- Optimized Obstacle-Avoiding Robot Code: A Breakthrough for Robotics Enthusiasts
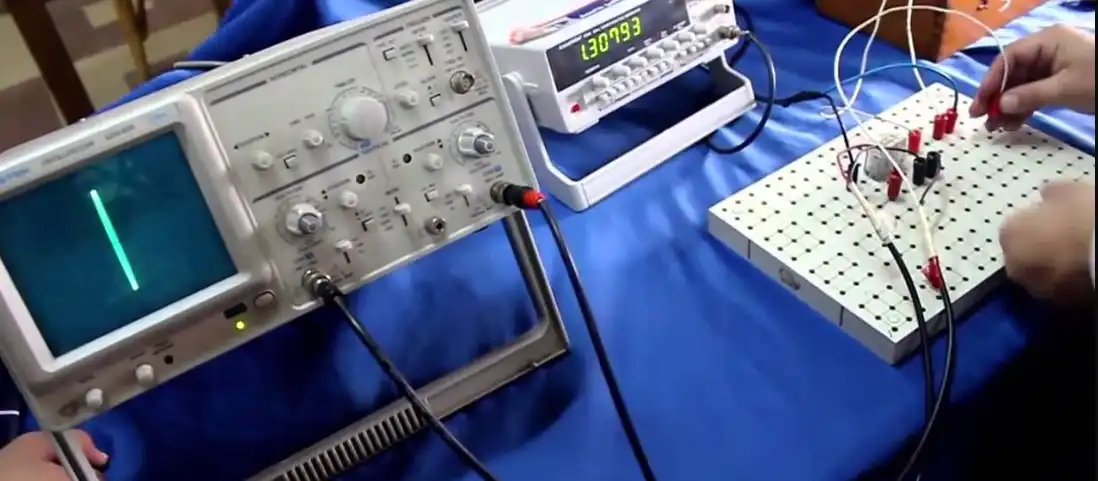
A cathode ray oscilloscope (CRO), also known as an oscilloscope or scope, is a type of electronic test instrument used to visualize and analyze electrical signals in the time domain. It is an essential tool for engineers, scientists, and technicians working with electronics, telecommunications, and various fields of science and engineering.
We can easily construct Cathode Ray Oscilloscope using Arduino using the following code of just 9 lines and a simple circuit.
The Code
Now let us see the interesting code. This code is of just 9 lines, but perfect to show any type of waveform on Serial Monitor of Arduino IDE, just like the screen of CRO.
 void setup()
 {
  Serial.begin(115200);
 }
 void loop()
 {
  int value = analogRead(A0);
  Serial.println(value);
 }
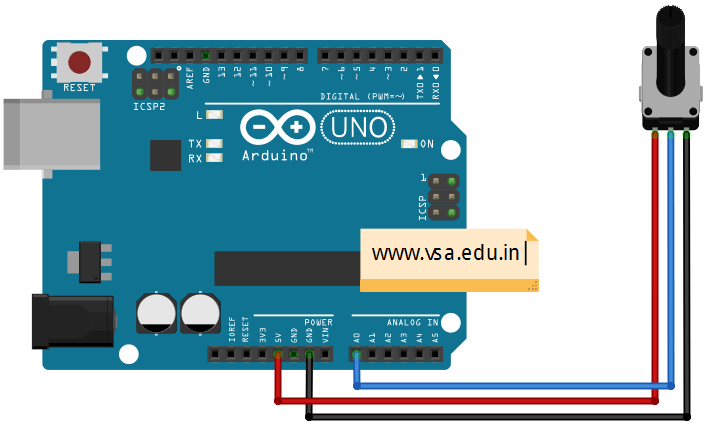
How to Construct the Circuit?
Constructing the circuit using Arduino is very simple. What you need it just potentiometer or direct input single from a function generator or any other source. Connect any type of input as you like at the Analog Input Terminal A0 of Arduino. The open serial plotter and monitor the output just like the output is monitored on CRO screen. Check connection diagram below –