- Arduino Alvik: How to write the blinking LED code?
- How to write code for alternate Blinking LEDs with different colors in Arduino Alvik?
- How to move Arduino Alvik forward and backward using simple code?
- How to give turns to Arduino Alvik using simple code?
- Achieving control and orientation with Arduino Alvik on rotating platform
- Simple black line follower code for Arduino Alvik
- Alvik: How to use alvik.drive() function in Arduino Alvik coding
- Alvik: Detecting different colors & controlling the robot movements
- Alvik: Detecting Falling and Crashes (IMU) Corrected Code
Join Online/Offline short term course to learn advanced programming of Arduino Alvik at Vidyasagar Academy. Register now at this link.
Introduction for Beginners
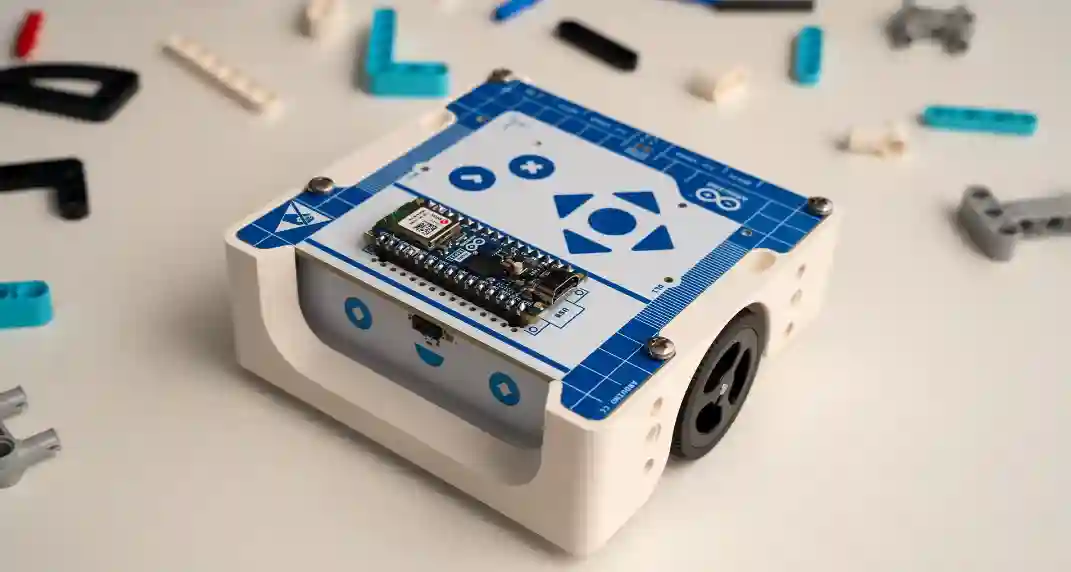
Arduino Alvik is a newly launched robotics platform by Arduino, designed for beginners in robotics and programming. It is especially useful for students and educators looking to explore robotics, IoT, and AI using a versatile tool. Here are some key features for beginners:
Powered by Arduino Nano ESP32-S3: Arduino Alvik is built on the Arduino Nano ESP32-S3, which combines the features of an ESP32 microcontroller with Arduino’s ease of use. The ESP32-S3 includes a dual-core processor and Wi-Fi/Bluetooth capabilities, enabling Arduino Alvik to handle more complex tasks like wireless communication and advanced sensing (Espressif).
MicroPython Support: Arduino Alvik supports MicroPython, making it beginner-friendly for those who prefer Python for programming. In addition, it also supports Arduino C and block-based programming, giving learners multiple pathways to interact with the robot (Arduino Docs).
Pre-Installed Programs: Arduino Alvik comes with pre-installed programs, such as a line-following algorithm, allowing beginners to experiment with robotics functionalities right out of the box.
Interactive Components: It has built-in sensors, such as a time-of-flight distance sensor, an RGB color sensor, and an IMU (accelerometer and gyroscope), which allow users to engage with real-world data. These features make Alvik useful for learning about navigation, object detection, and movement(Arduino Docs).
Educational Focus: Arduino Alvik is specifically designed for education, making it a powerful tool for both teachers and students to dive into robotics and automation. The platform comes with tutorials, documentation, and example projects to guide users (Espressif), (Arduino Docs).
In summary, Arduino Alvik is a great choice for beginners interested in learning robotics and programming, providing a hands-on way to explore various fields, from AI to IoT.
How to start?
The Arduino Alvik is a newly launched educational robot that supports various programming languages, including MicroPython. It is built on the Arduino Nano ESP32-S3 and designed to be a versatile tool for robotics education.
Let us see how to write the blinking LED code for your Arduino Alvik Robot!
First note that unlike Arduino Uno or Nano, the Arduino Alvik has two RGB LEDs on top of its board as shown below.
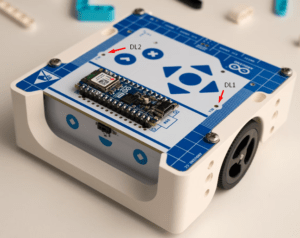
We will write the code to blink these two LEDs. Let us start with the following procedure to use the code:
How to use the code in Arduino Alvik?
- First of all you will need Arduino Lab software to run codes in Arduino Alvik.
- If you have not installed the Arduino Lab, then go to this link and download the software and install it. This download link is for Windows PC.
- If you have other type of operating system, then visit this link and download the software as per your OS.
- Then insert a 3.7V cell in the cell holder of Arduino Alvik. The close its back lid after tightening the screw properly.
- Now connect the C to C cable to Arduino Alvik and the PC.
- The Arduino Alvik robot comes with C-C type USB cable.
- If your PC does not have C-type USB port, then use simple SAMSUNG charger cable which has one USB-A pin and the other is USB-C pin.
- After connecting Arduino Alvik to your PC, open Arduino Lab software and click on “Connect” icon at the top left corner.
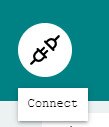
- Select the available COM port like COM9 or COM3, etc.
- Now your Arduino Alvik is connected with your PC.
- Now click on “File Manager” icon at the top right side
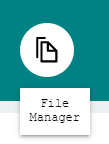
- The file manager will open. Now click on file+ button, then write the name of your new file and then press enter, as shown in following screenshot.
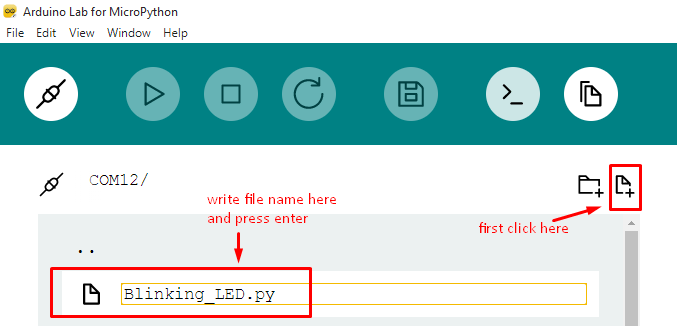
- Now double click on the “Blinking_LED.py” file name so that a blank file will open in Arduino Lab software.
- Now copy paste the following code in it. Then click on “Save” icon in the menu.
- Now the file is saved in Arduino Alvik memory.
- Finally click on “Run” icon in the Arduino Lab menu and wait for some time.
- The two LEDs will start blinking at 1000ms i.e. 1 second rate.
Blinking LED Code for Arduino Alvik
Before actually working on the code, please read the type of functions used to control the multicolor LEDs of Arduino Alvik on this link.
The code is available for logged in users.
from arduino_alvik import ArduinoAlvik
from time import sleep_ms

# These two lines initialise the Arduino Alvik
alvik = ArduinoAlvik()
alvik.begin()

# Make the two LEDs off initially
alvik.left_led.set_color(0, 0, 0)
alvik.right_led.set_color(0, 0, 0)

# Blink the two LEDs continuously
while True:
  alvik.left_led.set_color(1, 0, 0) # Left RGB LED set to Red Color
  alvik.right_led.set_color(1, 0, 0) # Right RGB LED set to Red Color
  sleep_ms(500)

  alvik.left_led.set_color(0, 0, 0)
  alvik.right_led.set_color(0, 0, 0)
  sleep_ms(500)
If you are reading this line on the page, it means that you have already logged in with your email address. You will receive email notification, when we will post the next codes of Arduino Alvik.
Happy coding with Arduino Alvik…!